PandaBuy QC photos are most useful when they answer questions written before an item reaches the warehouse. A random gallery can show that a product arrived, but it may not confirm the size, color, material, construction, or option you intended to buy. A short inspection workflow fixes that problem. Save the original product page, exact selected variant, seller details, expected measurements, and the photo angles needed to compare them. Then review warehouse images against that record rather than against memory.
This is a research workflow, not a guarantee of product quality. Listings and inventory can change, and warehouse photos may not expose every issue. The OutfitReps product-detail pages below are current examples for creating inspection rows. Reopen each page before ordering. If a page lacks a clear measurement or material detail, put the item on hold and request a specific answer from the shopping agent instead of converting uncertainty into a positive assumption.
Write the QC Request Before Payment
Start by naming the risk that matters for the product. For clothing, it may be chest width, sleeve length, print placement, fabric texture, or label. For shoes, it is often insole length, toe shape, outsole symmetry, and pair consistency. For a bag, it may be the opening, interior dimensions, corners, strap attachment, zipper, or hardware finish. A good request uses plain, measurable language: “photo with ruler across chest,” “insole length with ruler,” or “close photo of both strap rings.”
Ask for straight, well-lit front and back photos first. Add left, right, top, base, interior, label, and construction close-ups where relevant. A ruler should be visible from the correct endpoints and lie flat. Do not ask only for “good QC”; that phrase does not tell the agent which evidence affects the decision. Save the request beside the original seller record so you can check completion systematically.
Compare Product Detail Pages with Warehouse Evidence
 Messenger bag QC
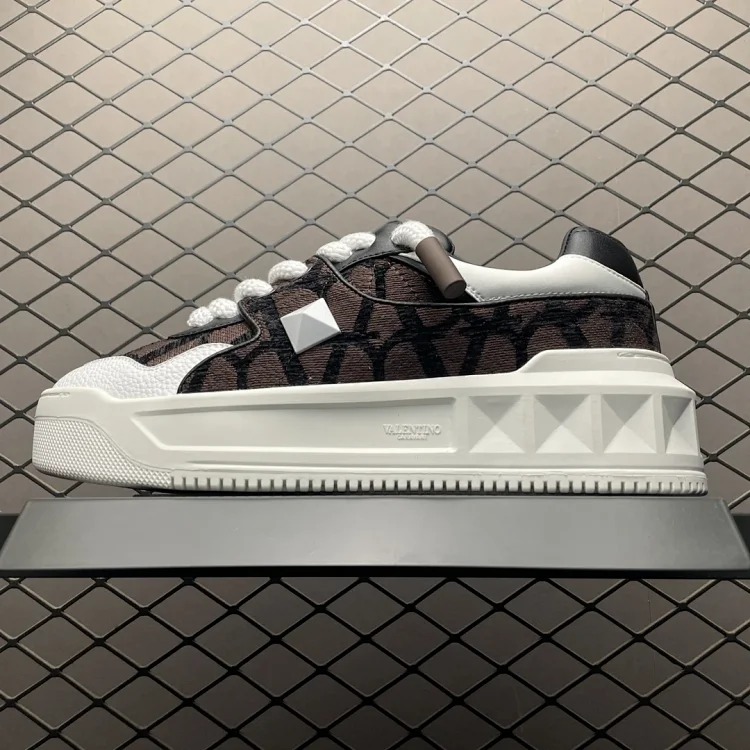 Color-option QC
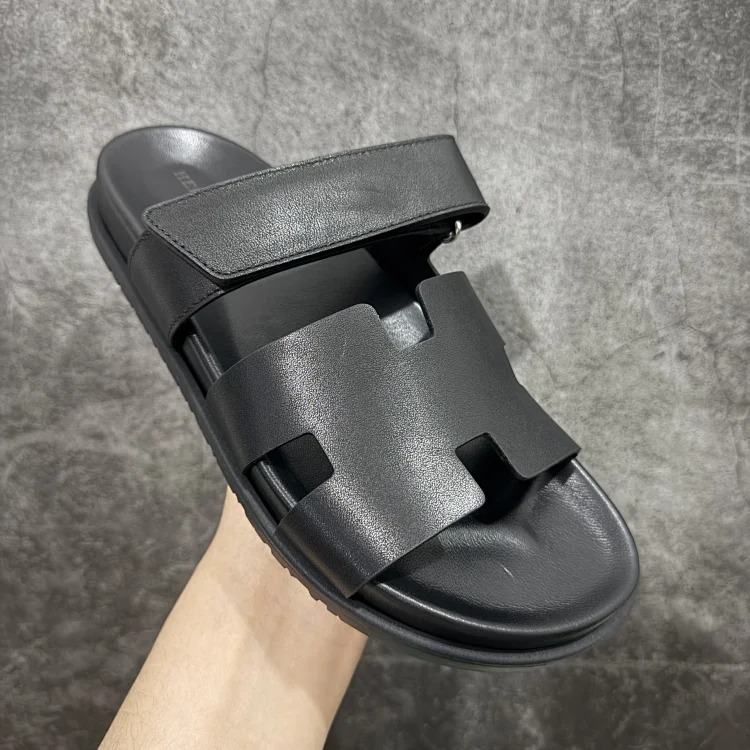 Capacity QC
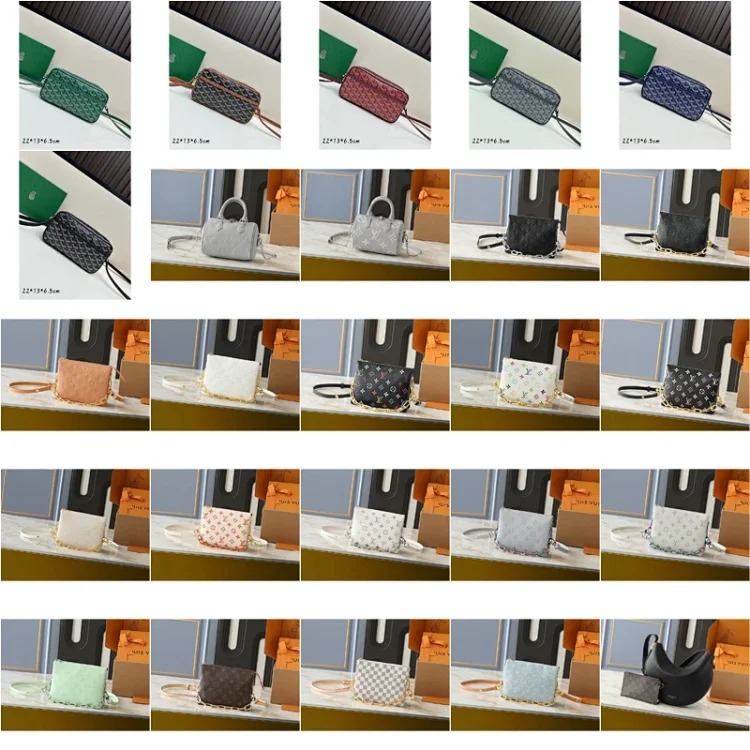 Strap QC
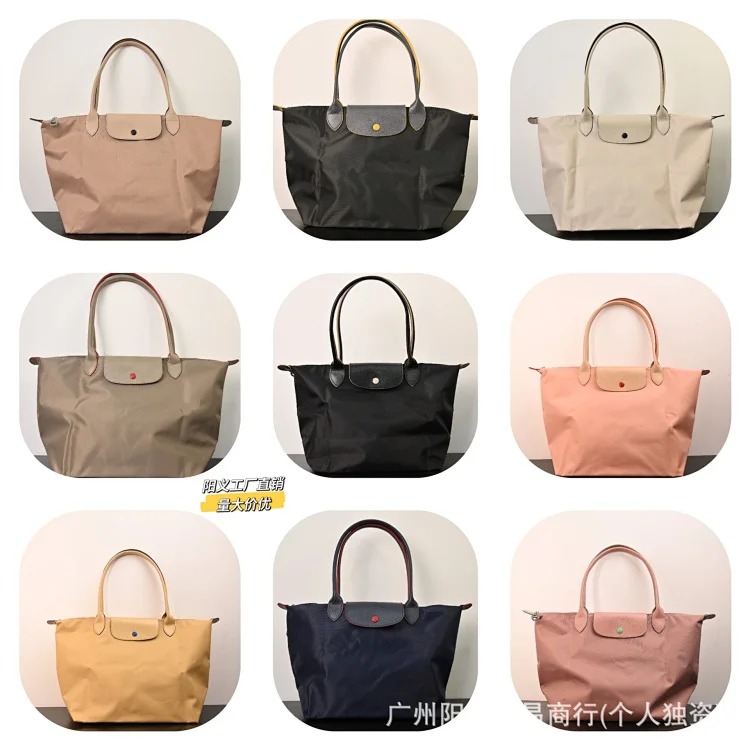 Material QC
Check the option before anything else. Match visible color, size tag, product shape, and stated features with the order record. Then compare measurements with a reference item you own. Flat garment width is not body circumference; an outsole length is not necessarily an insole length; external bag dimensions do not automatically describe usable capacity. Write how each measurement was taken so that the comparison remains meaningful.
Inspect quality control details next: seams, print alignment, material texture, zipper function, hardware color, corner condition, loose threads, stains, and symmetry. A difference from the listing is a decision point, not automatically a rejection. Log what differs, decide whether the difference changes fit or function, and request an additional image if it cannot be evaluated from the current set.
Keep Seller Details, Agent Route, and Shipping Notes Visible
QC photos should remain tied to seller details. Store the product-detail URL, title, selected option wording, price, date reviewed, size chart, material claim, and any return or exchange limitation. A color or version change can also change the weight, dimensions, or construction. If the warehouse image appears to show a different option, stop approval until the agent confirms the order line.
Confirm the agent route at the same time. The agent must be able to receive the category, provide the requested images, and ship it to the destination. Route restrictions can vary with product type and change over time. Record the date checked. Then update shipping notes using warehouse measurements: scale weight, likely volumetric weight, box or protective packaging, parcel grouping, and landed cost. A product that passes visual QC can still be unsuitable if it cannot be shipped safely or economically.
Review the Photo Set in a Fixed Order
Reviewing in a fixed order reduces missed details. First confirm the order identity: seller link, option, color, size, and quantity. Second, check the full silhouette from front, back, sides, and base. Third, inspect the measurements that determine fit or capacity. Fourth, move to close details such as labels, seams, fasteners, prints, hardware, and lining. Finally, examine packaging and any damage that could affect shipping. Write one short observation under each step rather than relying on a general impression.
Use neutral descriptions. “Left zipper pull appears scratched” is a useful record; “looks bad” is not. Neutral notes make it easier to ask the agent a precise follow-up and to compare an alternative product fairly. If lighting makes a color uncertain, request a second image in neutral light. If a measurement is close to your boundary, compare it again with the reference item before deciding. This small discipline makes QC photos actionable evidence.
Use a Clear Approval Decision
Keep the raw QC photos until the parcel is delivered. They provide a useful reference if a measurement, selected option, or visible condition needs to be discussed later. The stored photo set should be linked to the product row with the inspection date, not mixed with unrelated images from other orders.
- Original seller page and exact option match the warehouse item.
- Requested QC photos and ruler measurements are complete and readable.
- Size, materials, construction, and visible details meet the purpose of the item.
- Seller details, agent route, restrictions, packaging, and shipping notes are current.
- Any unresolved issue has a specific follow-up question or a hold decision.
Use three states: approve, request more evidence, or reject. Avoid approving merely because no problem is obvious in a small photo. The useful standard is whether the available evidence supports the planned use and shipping decision. Add the result to your product sheet, including any concern that should be rechecked before parcel submission.
For connected workflows, read the PandaBuy shipping notes guide, start from the PandaBuy Best Sheet home, browse the PandaBuy guides library, compare categories at PandaBuy categories, and return to the QC checklist.