PandaBuy Best Sheet home / News guides
PandaBuy Streetwear Finds: How to Avoid Random Product Lists
Searching for PandaBuy streetwear finds can feel efficient until a saved list turns into a pile of anonymous links. A useful sheet is not a gallery of hype names or a promise that every item will work. It is a small research board: each row answers what the item is, where the listing lives, what evidence is available, how the size was measured, and what you still need to check before an agent route or shipment. This guide shows a repeatable way to turn scattered streetwear browsing into decisions you can revisit later.
The five example product links below are starting points from OutfitReps. They are not a substitute for checking the current listing yourself. Stock, color, price, seller notes, measurements, and delivery availability can change. Save the direct product URL, then record the date you checked it rather than assuming a screenshot or old social post is still accurate.
Start a PandaBuy streetwear sheet with a question, not a trend
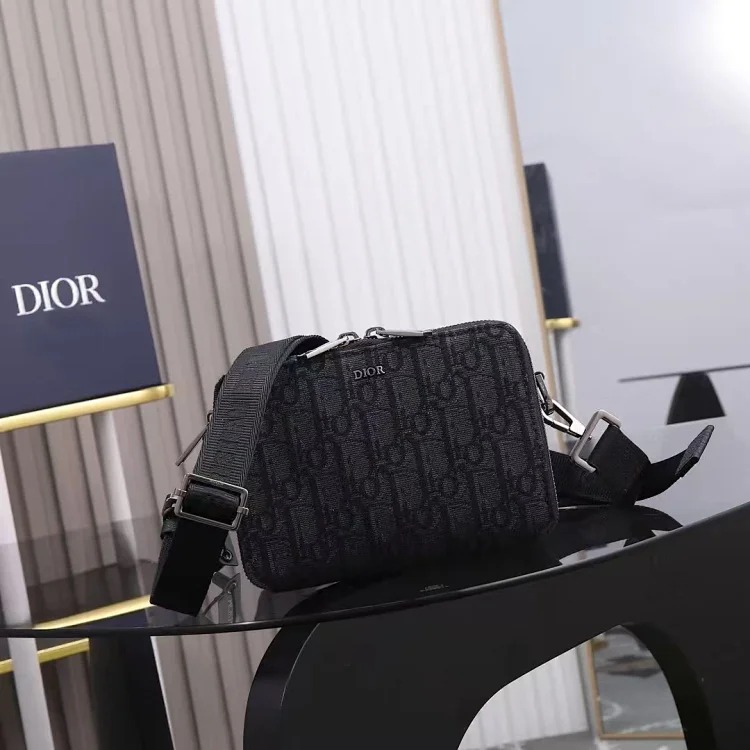
Before adding a product, decide the role it must fill. A commuter bag, a small shoulder bag, or an accessory can be useful, but they solve different packing and styling problems. Writing a question beside the item keeps the research focused: “Will this carry daily essentials?” “Does the shape work with a short jacket?” “Can I verify the hardware and lining?” That is more useful than labeling every listing “best.”
Use a category column and a purpose column. Then add seller details in a separate field: shop name if shown, product title, listing date if available, variant selected, quoted material, and the link you opened. Never merge these facts with your personal opinion. A clear sheet lets you later compare two items without confusing a seller claim with a confirmed observation.
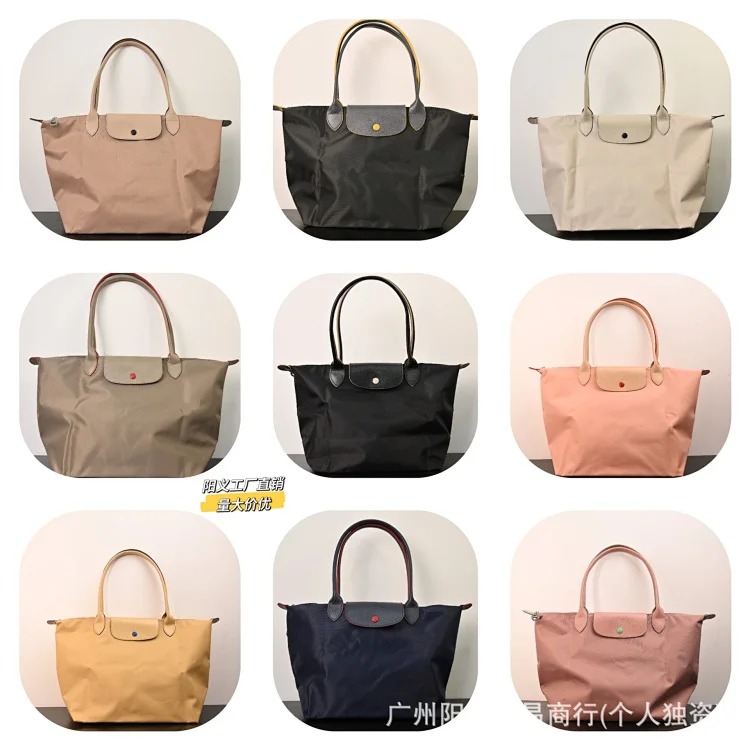
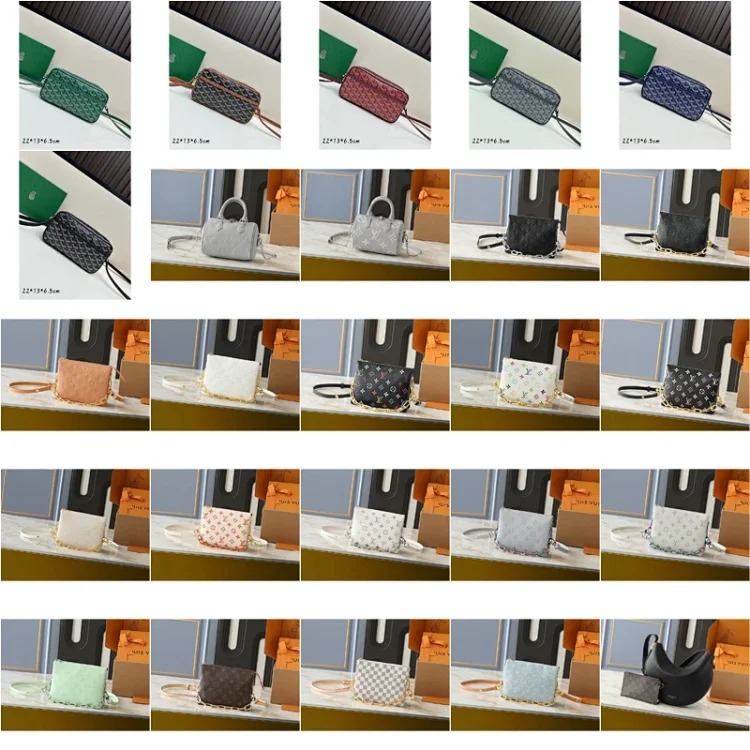
Make the product row evidence-first
A strong PandaBuy product finds row begins with the direct listing and ends with a next action. Between them, add photos, material notes, measurement requests, and a simple status such as “watch,” “request QC,” or “ready to compare.” Photos should be treated as evidence to inspect, not decoration. Ask for clear front, back, side, interior, label, logo, hardware, and close-up images when those details matter. Check whether lighting changes the perceived color. If the product has a patterned surface, request a straight-on photo so alignment can be judged rather than guessed.
For bags and accessories, QC notes should identify seams, edge paint, zipper travel, strap attachment, corners, lining, and packaging. For apparel or footwear you would extend the same approach to fabric, print placement, collar shape, outsole, and stitching. Keep the notes specific enough that another person could review the same photo and understand why you paused or approved a row.
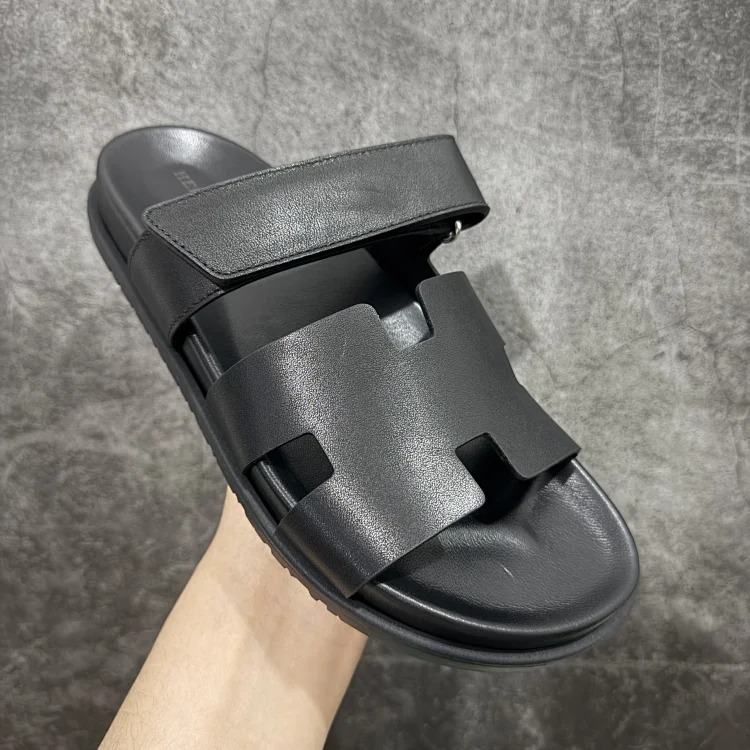
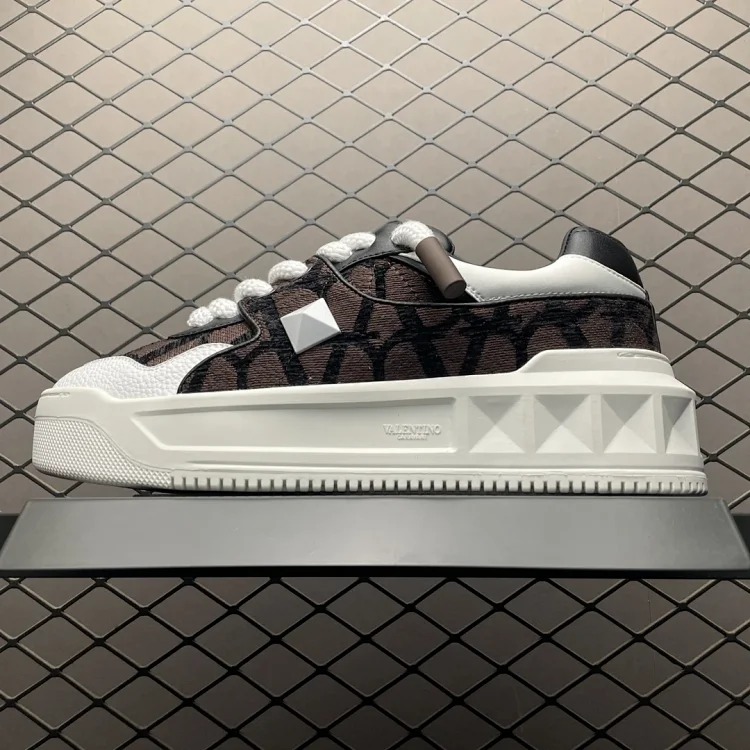
Use sizing and measurements before committing
Streetwear browsing goes wrong when a product title is used as a size chart. Record the seller’s stated dimensions, then request actual measurements where a fit or capacity decision depends on them. For clothing, compare garment chest, shoulder, length, sleeve, waist, rise, inseam, and hem against an item you already own and like. For footwear, note insole or outsole length only when the listing confirms how it was measured. For a bag, record width, height, depth, strap drop, and opening size.
Measure in centimeters, preserve the original seller wording, and include a tolerance note. A one or two centimeter difference may not change a tote, while it can matter greatly for a cropped jacket or a fitted shoe. Do not rely on a generic “true to size” comment. Your sheet should say which measurement determined the decision, what you compared it against, and whether the agent’s QC photo confirms it.
Plan the agent route and shipping notes as part of the find
The product link is only the first stage. In your PandaBuy spreadsheet, give every saved item an agent-route column: direct order link checked, variant chosen, seller details captured, QC request prepared, and warehouse status pending. This avoids assuming that a compelling image means an item can be ordered or dispatched on the schedule you want. If a seller changes a variant, update the row rather than leaving an old note beside a new option.
Shipping notes deserve their own column too. List approximate packed weight only after it is known, whether the item needs a box or protective filling, any battery, liquid, oversized, or material restrictions, destination considerations, and your preferred consolidation plan. Do not treat a prior route as a guarantee for a future parcel. Compare the current agent rules and available lines before paying. A practical sheet makes uncertainty visible; it does not hide it behind a low price or an attractive product card.
Review, prune, and connect the useful rows
Set a weekly review point. Remove duplicates, mark dead or changed listings, and keep only rows that have enough seller details and photo evidence to deserve a QC request. Link each item to a related category so browsing remains organized. You can begin with the PandaBuy Sheet categories, then return to the how-to-use guide when you need a consistent review process.
For a deeper inspection workflow, read our related PandaBuy QC photos checklist. It explains how to turn warehouse images into clear acceptance criteria. Combining that process with a concise finds sheet protects your time: you will save fewer random links, but each remaining item will have a documented reason to be there.
Finally, revisit the list after shipping. Note whether the packaging, transit time, and real-world use matched your expectation. Those post-delivery notes improve future streetwear choices far more than adding another unverified product list. The goal is a maintained research sheet that helps you compare evidence, request the right photos, select size deliberately, confirm seller details, plan an agent route, and write realistic shipping notes.